p2.js soft wheel vehicle tutorial

I recently made a demo for the p2.js physics engine with a truck and soft wheels, simulating traction. It’s a pretty interesting case, using a few different p2 constraint types. Perfect for a tutorial.

p2-softwheel

Open the JSFiddle!

World & Materials setup

The first thing we need is the simulation world.

var world = new p2.World({
  gravity : [0,-5]
});

Before starting with the vehicle, let’s set up materials. Experience tells me we’re going to need some extra friction for the wheels to get some traction against the ground. For this purpose, we create two Materials and a ContactMaterial. This way we can define a new friction coefficient between ground and wheels.

var groundMat = new p2.Material();
var wheelMat = new p2.Material();
var contactMat = new p2.ContactMaterial(groundMat, wheelMat, {
  friction: 30
});
world.addContactMaterial(contactMat);

We will use these two materials shortly, when creating geometry.

Chassis

The chassis is a single rigid body, with a few shapes in it. First, let’s create the Body:

var chassisBody = new p2.Body({
  mass: 1,
  position: [-0.3, 2.2]
});
world.addBody(chassisBody);

Next step is to add some geometry to it.

Chassis construction

// Capsule below the chassis
chassisBody.addShape(new p2.Capsule({
  length: 1.8,
  radius: 0.6
}), [0.5,-0.4], -0.1);

// First capsule above the trunk
chassisBody.addShape(new p2.Capsule({
  length: 1.8,
  radius: 0.1
}), [-0.4, 0.6], Math.PI/2);

// Second capsule above the trunk
chassisBody.addShape(new p2.Capsule({
  length: 1.8,
  radius: 0.1
}), [-0.2, 0.6], Math.PI/2);

// Inclined capsule above the trunk
chassisBody.addShape(new p2.Capsule({
  length: 1.8,
  radius: 0.1
}), [-1.4, 1], Math.PI/7);

// Main chassis shape
chassisBody.addShape(new p2.Convex({
  vertices: [
    [3.5, -0.6],
    [3.7, -0.4],
    [3.6, 0.5],
    [3.3, 0.6],
    [-3.5, 0.6],
    [-3.55, -0.1],
    [-3.4, -0.6]
  ],
  width: 7,
  height: 1.2
}));

// Top "window"
chassisBody.addShape(new p2.Convex({
  vertices: [
    [1, -0.5],
    [0.3, 0.5],
    [-1, 0.5],
    [-1.1, -0.5]
  ]
}), [1, 1.1], 0);

Wheels

For the soft wheel simulation, I chose an approach where the center of the wheel is a circular body, and the outer shell consists out of a number of “links”. The links are interconnected in a circle, and they are also constrained to the center circle so they must move when the inner wheel rotates. Finally the links have a spring connection to the center so they can flex radially.

wheel

Let’s break this down. First we create the center circle body.

var wheelBody = new p2.Body({
  mass: 1
});
wheelBody.addShape(new p2.Circle({ radius: 0.4 }));
world.addBody(wheelBody);

Let’s add a single link for starters. We use a Capsule shape.

var linkBody = new p2.Body({
  mass: 0.1,
  position: [0, 1],
  angle: Math.PI / 2
});
linkBody.addShape(new p2.Capsule({
  radius: 0.05,
  length: 0.4,
  material: wheelMat
}));
world.addBody(body);

First we need to make sure it can only move radially along an axis from the circle body’s center. For this, we use a PrismaticConstraint. We use the body centers as anchor points and define the slider axis locally in the center body.

var prismatic = new p2.PrismaticConstraint(wheelBody, linkBody, {
  localAnchorA: [0, 0],
  localAnchorB: [0, 0],
  localAxisA: [0, 1],
  disableRotationalLock: true,
  collideConnected: true
});
world.addConstraint(prismatic);

p2-softwheel-prismatic

To keep the links in a circle when the wheel is at rest, we add a DistanceConstraint between the center body and the link. To make the constraint soft, we set a small maxForce.

var distanceConstraint = new p2.DistanceConstraint(wheelBody, linkBody, {
  maxForce: 4
});
world.addConstraint(distanceConstraint);

p2-softwheel-prismatic-2

Now we will modify the “link” code so it runs in a for loop and adds more links. We will also make sure the loop adds RevoluteConstraints to connect the link ends to each other in a circular formation around the center body.

p2-softwheel-prismatic-3

// Create a chain of capsules around the center.
var lastBody, firstBody, N=16;
var linkLength = Math.sqrt(2 - 2*Math.cos(2 * Math.PI / N));
for(var i=0; i
  // Create a capsule body
  var angle = i / N * Math.PI * 2;
  var x = Math.cos(angle) - 2.2;
  var y = Math.sin(angle);
  var linkBody = new p2.Body({
    mass: 0.1,
    position: [x,y],
    angle: angle + Math.PI / 2
  });
  linkBody.addShape(new p2.Capsule({
    radius: 0.05,
    length: linkLength,
    material: wheelMat
  }));
  world.addBody(linkBody);

  // Constrain the capsule body to the center body.
  // A prismatic constraint lets it move radially from the center body along one axis
  var prismatic = new p2.PrismaticConstraint(wheelBody, linkBody, {
    localAnchorA: [0, 0],
    localAnchorB: [0, 0],
    localAxisA: [
      Math.cos(angle),
      Math.sin(angle)
    ],
    disableRotationalLock: true, // Let the capsule rotate around its own axis
    collideConnected: true
  });
  world.addConstraint(prismatic);

  // Make a "spring" that keeps the body from the center body at a given distance with some flexing
  world.addConstraint(new p2.DistanceConstraint(wheelBody, body, {
    maxForce: 4 // Allow flexing
  }));

  if(lastBody){
    // Constrain the capsule to the previous one.
    var c = new p2.RevoluteConstraint(linkBody, lastBody, {
      localPivotA: [-linkLength/2, 0],
      localPivotB: [linkLength/2, 0],
      collideConnected: false
    });
    world.addConstraint(c);
  } else {
    firstBody = linkBody;
  }

  lastBody = linkBody;
}

// Close the capsule circle
world.addConstraint(new p2.RevoluteConstraint(firstBody, lastBody, {
  localPivotA: [-linkLength/2, 0],
  localPivotB: [linkLength/2, 0],
  collideConnected: false
}));

Attach wheels to chassis

Now we will constrain the wheels to the chassis. We will let them move vertically and rotate freely using prismatic constraints. We set limits on the constraints so the wheels don’t slide too far away from (or too close to) the chassis.

p2-softwheel-suspension-1

var c1 = new p2.PrismaticConstraint(chassisBody,wheelBodyA,{
  localAnchorA : [
    wheelBodyA.position[0] - chassisBody.position[0],
    wheelBodyA.position[1] - chassisBody.position[1]
  ],
  localAnchorB: [0,0],
  localAxisA: [0,1],
  disableRotationalLock: true
});
var c2 = new p2.PrismaticConstraint(chassisBody,wheelBodyB,{
  localAnchorA: [
    wheelBodyB.position[0] - chassisBody.position[0],
    wheelBodyB.position[1] - chassisBody.position[1]
  ],
  localAnchorB: [0,0],
  localAxisA: [0,1],
  disableRotationalLock: true
});
c1.setLimits(-0.5, 0.4);
c2.setLimits(-0.5, 0.4);
world.addConstraint(c1);
world.addConstraint(c2);

Suspension

To get a suspension-like effect, we create soft distance constraints, that will let the wheels move up and down a bit. A distance constraint is by default very stiff, so we set its maxForce to something smaller to make it soft.

p2-softwheel-suspension-2

var suspensionA = new p2.DistanceConstraint(wheelBodyA, chassisBody, {
  maxForce: 6
});
world.addConstraint(suspensionA);
var suspensionB = new p2.DistanceConstraint(wheelBodyB, chassisBody, {
  maxForce: 6
});
world.addConstraint(suspensionB);

Ground plane

At last, we create a ground plane to let the vehicle drive on something. Optionally, we can add some obstacles.

var groundBody = new p2.Body({
  position: [0, -2]
});
groundBody.addShape(new p2.Plane({
  material: groundMat
}));
world.addBody(groundBody);

Applying engine torque

If you want to apply a torque to the wheels to make the vehicle move forward, it should be done after each physics step. Simply do something like this:

world.on("postStep",function(evt){
  wheelBodyA.angularForce += 30;
  wheelBodyB.angularForce += 30;
});

Cool! What now?

Play around with the JSFiddle to see the full code. See if you can add some more cool stuff to the vehicle!

Please leave a comment, star p2.js on Github, tweet or if you think this tutorial is useful!

TinyGoon – TowerFall clone in WebGL

I made this game together with and at Goo.

TinyGoon

It’s a kill ’em all multiplayer game with support for up to 4 players. We used the Gamepad API directly, which means that it doesn’t work perfect in all browsers.

The game uses a new SpriteSystem that I made for Goo Create and the physics is from p2.js.

Here’s the Goo team playing the game when we first presented it. It was buggy but fun! It was the longest presentation of the day since we didn’t want to stop playing.

tinygoon-playing

I made the tile graphics. Should probably start a career as a 2D pixel graphics artist!

tinygoon-editing

Launch the game.

PhysicsToy – halfway there…

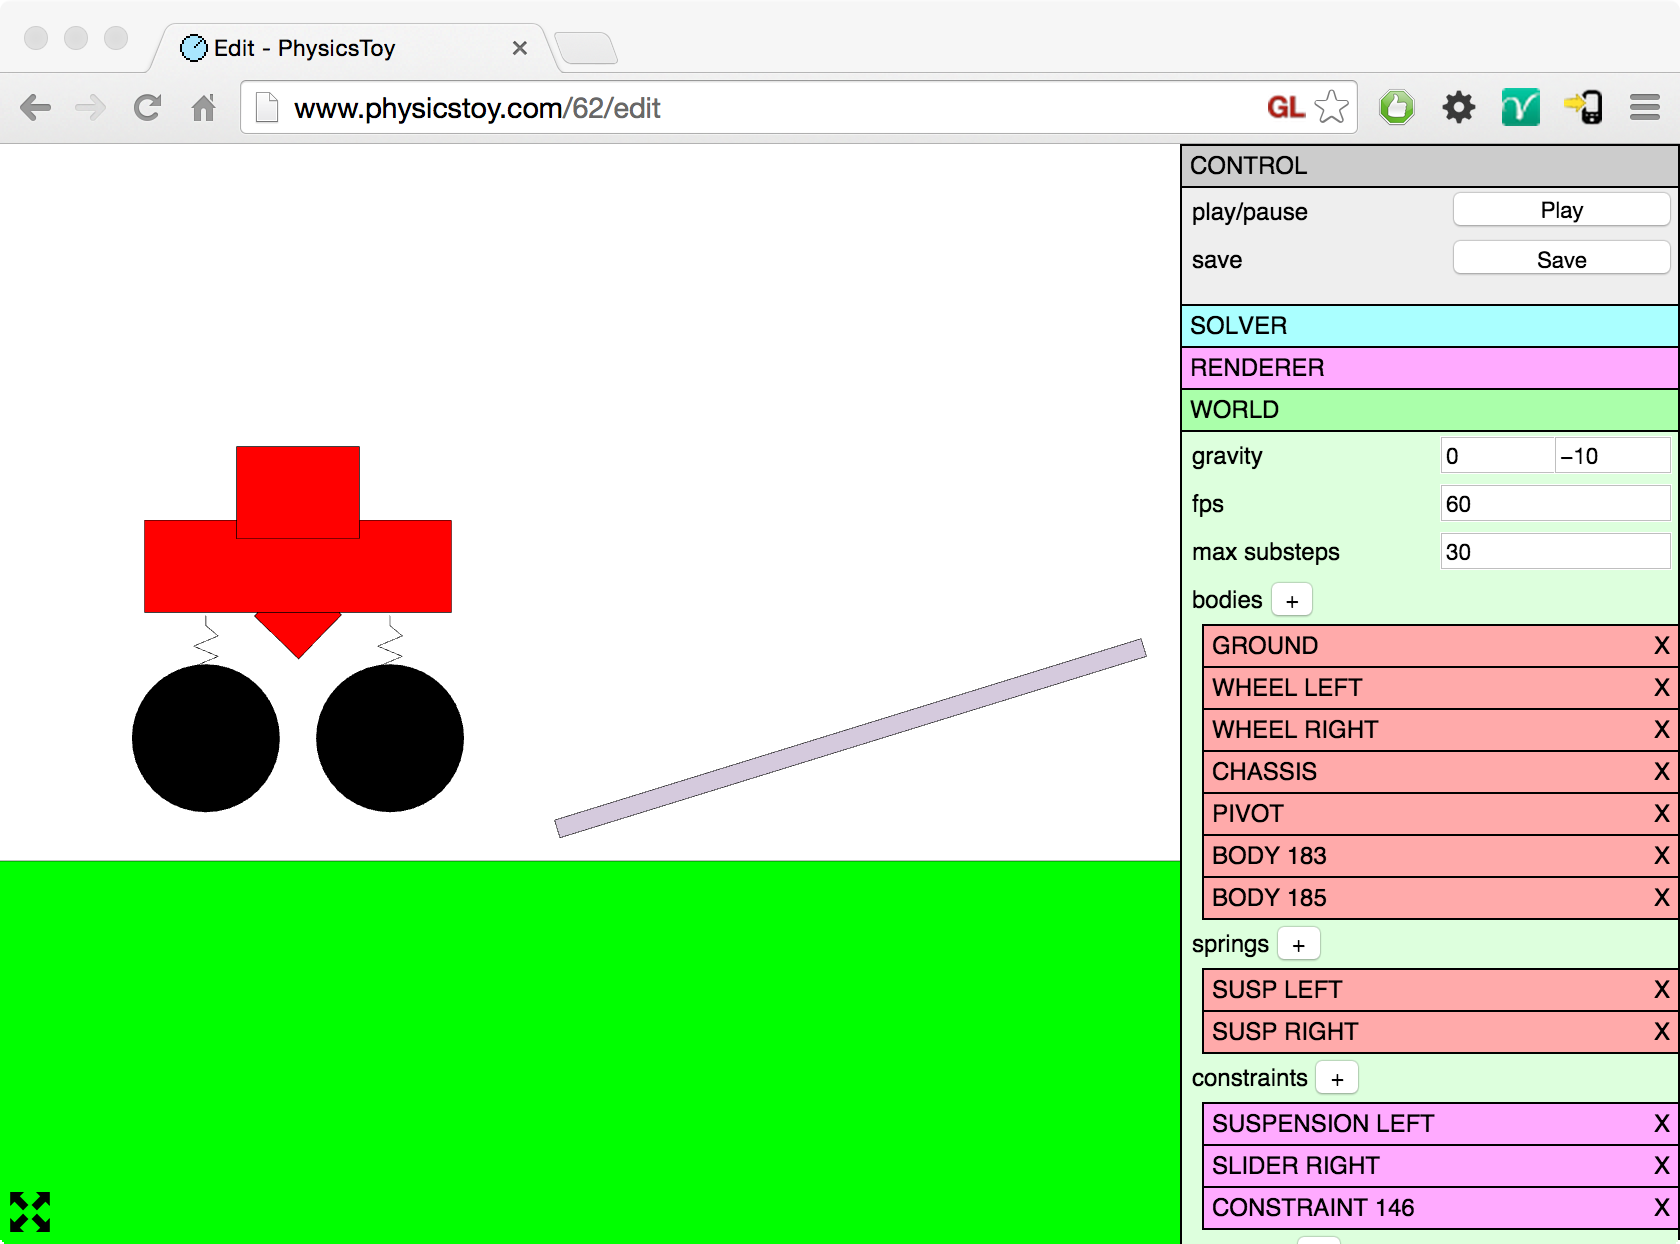
Recently, I’ve been working on a 2D physics editor called PhysicsToy. It makes it possible to create these kinds of simulations, without coding:

Cogwheels

Silly car

Before I get bored and want to start a new cool hobby project, I wanted to report the current status of the web app.

Frontend: Angular.js and Pixi.js

I used the p2.js debug renderer and polished it up a bit. Then I added some Angular.js magic. I’ve wanted to learn Angular for a while, and PhysicsToy was a great project to use it in. I hooked up Angular and connected it to a simple list-like menu. Then added some code for updating the p2.js world as the angular data changes. Viola, PhysicsToy was born.

Backend: Node.js and Postgres on Heroku

Another thing I wanted to try was Postgres. I’ve been using MySQL in other projects, but why not try something new, and at the same time choose open source.
Postgres didn’t let me down. It offered a JSON data type, which is convenient for my Angular scene data. Postgres seems more consistent and in general more thought through than MySQL, even though they are based on the same SQL language.

Before pushing the data to Postgres, I do some validation using JSON-schema. I use an interesting solution for version handling of the JSON: I store the scene data as it is and never upgrade it in the database, but I do on-the-fly upgrading when serving to the clients. The benefits of this solution are that the original scenes can be in all servers forever. And it’s ideal when the app is under development, with a constantly changing data model. The only bad part is that the upgrading takes some server juice.

Had a fun time coding this, I hope that it will grow to something big!

How much garbage is my JavaScript producing?

While reading this article about garbage collection in JavaScript, a question popped up in my head… How can I test how much garbage a piece of code is producing?

I’ve written a small snippet that can measure this for you. What you need is a recent version of Google Chrome.

To be able to measure the memory heap size, we need to enable it in Chrome. Chrome can give you access to the state of the JavaScript heap (the memory allocated to JavaScript objects), but to get it to work you’ll need to start it with the –enable-precise-memory-info flag:

chrome --enable-precise-memory-info

Or, on OSX:

open -a "Google Chrome" --args --enable-precise-memory-info

Now, create an HTML file containing the following code.

This will write the number of bytes allocated between "// Start" and "// End" to console every 10th of a second.

My current version of Chrome (40.0.2214.115) is producing 40 bytes to run this function, that is why I remove 40 bytes from the output number. You may need to change this depending on your Chrome version and settings.

If you run this script, you will notice that the first output numbers are

2424
728
0
0
0
...

The first numbers are there probably because of initialization garbage. After a little while, the initialization garbage is gone and we see that the number of allocated bytes in the loop is 0.

Now, let's allocate something in the loop and see what happens. If I, for example, allocate a plain object inside the above loop, like this,

setInterval(function(){
    var before = window.performance.memory.usedJSHeapSize;
    var obj = new Object();
    var diff = window.performance.memory.usedJSHeapSize - before;
    console.log(diff-40);
}, 100);

then the output is

3360
752
56
56
56
56
...

We conclude that a plain JavaScript object takes 56 bytes to allocate.

You can use this code snippet to measure how much GC load different pieces of code allocates in your game loop. Why not try this JSFiddle here to get started? Good luck!

Recent Node.js development

Code frequency plot

Recently I’ve been working a lot on the Node.js version of friendship-bracelets.net. Here’s a quick status report.

Code reduction

I’ve reduced the code to less than half its size by abstracting key parts of the code and compressing a few static JS files. I really love JavaScript – abstracting code has never been easier (and dirtier).
One interesting abstraction I made was an “edit resource” page. For each resource I have a Schema class instance that can help create an HTML form and then validate input from the client.

Nginx

Other news is that I’ve started using Nginx to serve static files and proxy to Node. It was really easy to set up so I will probably continue using Nginx. The only drawback is that I really want PHPMyAdmin for administrating my database, so I still have to run an instance of Apache… Perhaps I’ll find a solution to this later on. I will post instructions about my setup when it’s stable.

Chat using Server-Sent Events

Another thing I’ve done is a chat client. I was really excited while doing this because it is a whole new concept to the site. This way we can get even closer interaction with the users.
The tech behind the real-time chat is server-sent events, or more specifically, EventEmitter in HTML5. Earlier I was determined to use WebSocket, but since server-sent events is more well supported (on both client and server) and good enough for the purpose, I went that way.

Caching of Express views

I’ve probably mentioned how to do this earlier, but now I’ve tried it. When starting the Express app with the environment variable NODE_ENV set to “production”, I simply run
app.configure("production",function(){
  app.enable("view cache");
});
This makes Express cache the templates inside the app, and it makes the app faster. By also relieving the app from serving static files (using Nginx), this makes the web app perform really well. It almost feels like running the app locally when it in reality it’s on a virtual machine in a datacenter somewhere else.

Mobile app thoughts

I’ve already started using jQuery mobile for the mobile site, but it will probably only make it more difficult for me to maintain the site. Using that will need different HTML for the layout, which duplicates that amount of code. I’m starting to think maybe it’s better to just add some CSS when on mobile instead.

Express: multi-language site

A question from a user came in, and he asked if the site could be translated into russian (he even offered help). Making an Express app support multiple languages is easy using e.g. i18n-node. However, making friendship-bracelets.net in multiple languages is probably not that easy. As I see it, we have 3 options for multi-language implementation.

  1. Just translating the menu buttons and some of the text. This will encourage people comment in their own language (if the site is in your language, you will probably write text in your own language). I think it would be really confusing if everyone posted stuff in mixed languages.
  2. Separating the languages into own sites with separate content. One site will have its own set of content and the other won’t have it. Not really cool and not really a good option in this case.
  3. Let’s say we have two sites of different language, A and B, and they share all content. Should all content in A also be visible for users in B? For some content, yes. What if you post content in your own language site A (english) and get a comment on it in site B (russian)? It gets more complicated than this when you think about it, and there will be special rules for just about everything.

Discussing this with the mods lead to a decision to do nothing about the multi-language question. However, It would be really cool to try out i18n in the future (I never tried it before).

Rebuilding friendship-bracelets.net

Friendship-bracelets.net has been up for a long time without updates, and it is now getting a bit old. It’s time for me to rewrite it all in HTML5!

Why rebuild it all?

Rebuilding it will take a lot of time, but it will be worth it. The site will…

  • become faster
  • support more cool things
  • become more secure
  • be easier for me to maintain and develop
  • have more nice looking URLs
  • have new HTML5 generators with more features than the current ones
  • have a developer & moderator blog
  • feature better photo uploading
  • probably be supported on more devices
  • …and more!

Obviously, everything should be at least as good as it was before, most things will hopefully be a little bit better.

How far I got

I guess what you guys want is a screenshot, so here you go!

It is hard to explain to non-programmers exactly how much has been built of the site, but what I can say is that I’ve got the basics done.. Such as:

  • Page layout
  • Login and out
  • Very basic HTML5 normal generator
  • Most things regarding the guestbook, links and FAQ
  • Static pages such as the Donate page
  • Profile picture uploader
  • Database layout and tools for transfer the old data to it

What is left to do is the rest of the site (duh!). I think that most of the remaining work is going to go more smoothly, as I’ve already learned how to use the tech behind the stuff above.

I’ll get back with more updates, stay tuned!

Prague

24 to 30th of August I, Hanna-Marie, Lisa and Jonny went to Prague. Some of the things we did were:

  • looked at churches & statues,
  • drank locally brewed beer,
  • learnt that “welcome drinks” is not referring to drinks but spirits
  • went to zoo
  • ate “manly” food (according to the menu)
  • ate rabbit, pork knee, dumplings and other czech foods
  • wandered around just watching the view
  • went to a tea festival
  • laughed at snobby servers at fine restaurants
  • went shopping (did I mention everything is a bit cheaper over there?)
  • went to a horror museum, and a torture museum and a communist museum
  • went to two spas
  • read a lot of interesting history about the town
  • went by the John Lennon wall
  • visited the Staropramen brewery
We had a blast and I’ll miss the town. It had a lot to offer and things to see.

Backing up a PHP MySQL site regularly on Ubuntu

There are already a number of examples out there on how to do this, but here is a complete recipe on how to do it.

I’ll show you how to:

  • Export all MySQL database tables with a given prefix.
  • Save all files in the public directory, and the MySQL dump into a compressed archive file.
  • Use crontab for regular backup.

The script for doing all this can be found in the end of the post.

Exporting MySQL databases with a given prefix

To export a MySQL database, the command mysqldump is a handy tool. It takes username, password, and database name as arguments and outputs SQL code that can be run to restore the current database. To export specific tables, one can provide a list of table names.

What I want to do is to export tables with a given prefix. For example, all tables that has a name beginning with myPrefix_. This cannot be done directly using mysqldump, so let’s get our custom table list using the mysql command.

mysql -u myUserName --password=myPassword -e "SHOW TABLES;" myDatabaseName | grep -e myPrefix_'.\+'

Running that command will hopefully list the tables you need. To pass this list to mysqldump, we first save it to a variable named TABLES.

# Get table names
TABLES=$(mysql -u myUserName --password=myPassword -e "SHOW TABLES;" myDatabaseName | grep -e myPrefix_'.\+');
# Dump tables to dump.sql
mysqldump -u myUserName --password=myPassword myDatabaseName $TABLES > dump.sql;

Now you’ve dumped the tables you need to dump.sql.

Compress all files

A .tar.gz file with all the site files and database backup would be nice, aye? Let’s do that.

The commands tar and gzip can help us bundle the files and compress them. (Actually, we can bundle AND compress using tar, but since we first need to add the public files and then append the database file to the archive, we must bundle and compress separately).
To add all files in a folder to a .tar archive, run:

tar -cf target.tar /home/steffe/public_html;

To add a file to the archive (in our case, the database dump), run this:

tar -rf target.tar dump.sql;

To compress the archive, and produce target.tar.gz, run

gzip target.tar;

Regularly execute a command

To make backups regularly, we will use crontab. It is really easy to use. To add a task, run

crontab -e

This will start the edit mode of crontab. An editor is launched, and you are expected to edit it and then close the editor.

For example, if we want to run the command updatedb at five a.m. every monday, we add the line

0 5 * * 1 updatedb

The format is “Minute Hour DayOfMonth Month DayOfWeek Command”. You can add any command with any flags or arguments. Detailed instructions on how to use crontab can be found here.

Wrapping it all together

This is the script I ended up with, it combines all things above. It also adds a timestamp to the backupfiles’ name.

#!/bin/bash

BACKUP_DIR="/home/steffe/backup"
DIR_TO_BACKUP="/home/steffe/public_html"
DB_USER="steffe"
DB_PASS="noyoudont"
PREFIX="wp_"
DB_NAME="database1"

echo "Getting table names..."; TABLES=$(mysql -u $DB_USER --password=$DB_PASS -e "SHOW TABLES;" $DB_NAME | grep -e $PREFIX'.\+');
DB_DUMP=/tmp/db.sql;
echo "Dumping database to $DB_DUMP...";
mysqldump -u $DB_USER --password=$DB_PASS $DB_NAME $TABLES > $DB_DUMP;

DATE=$(date +"%0Y%0m%0d_%0H%M%0S");
TARGET_FILE=$BACKUP_DIR/backup.$DATE.tar.gz;
TEMP_FILE=$BACKUP_DIR/backup.$DATE.tar;

echo "Wrapping it all into $TEMP_FILE...";
tar -cf $TEMP_FILE $DIR_TO_BACKUP;

echo "Adding database data to archive..."
tar -rf $TEMP_FILE $DB_DUMP;
rm $DB_DUMP;

echo "Compressing..."
gzip $TEMP_FILE;

echo "Backup done: $TARGET_FILE";

To get started, save the code above to a file, e.g. /home/username/backup.sh. Edit the MySQL login details and folder names at top. Make it executable by running chmod +x /home/username/backup.sh. Then add the line “0 5 * * 1 /home/username/backup.sh” to crontab.

Good luck!

Unity: add custom launcher

Here is how I did to add a custom Google Chrome launcher to Unity in Ubuntu 12.04.

First I located a desktop launcher that I could use as a template for my new launcher.

$ locate google-chrome.desktop
/home/steffe/.gnome2/panel2.d/default/launchers/google-chrome.desktop

The first result looked okay so I copied it to the desktop (You can also save it to /usr/share/applications/, that will make it available for all users and you won’t have to keep the icon on the desktop).

$ cp /home/steffe/.gnome2/panel2.d/default/launchers/google-chrome.desktop ~/Desktop/google-chrome-webgl.desktop

Next I did was to edit the file to make it the way I wanted. In my case I changed the variables Name and Exec in the file:

Name=Google Chrome with WebGL
Exec=/opt/google/chrome/google-chrome --enable-plugins --ignore-gpu-blacklist %U

The desktop launcher needs to be executable to run. Hence,

$ chmod +x ~/Desktop/google-chrome-webgl.desktop

Now the launcher should show up on the desktop. Drag and drop it onto the Unity panel. Done!

Building a 3D JavaScript physics engine – cannon.js

Above: the JavaScript physics engine cannon.js running together with the WebGL scenegraph three.js.

Recently I’ve been working hard on a 3D JavaScript physics engine that I call cannon.js. I kind of made a prestudy for it in my browser physics project at UMIT, but continued the project as a hobby. It was not a project goal to build an full engine, rather to see IF the browser can do it.

After my performance test, I was determined that a JavaScript physics engine could be a successful project. JavaScript may not be the most optimal way to make a physics engine (C++ seems to be preferred for performance), but by using tricks (typed arrays, web workers, webcl…) quite good performance can be achieved anyway.

A native JavaScript physics engine will also be needed in the future. When the WebGL developers are done with making scenegraphs, the game developers will take over and produce games. And when that happens… They will need physics.

At the moment, cannon.js supports planes, boxes and spheres to a small extent. It is not yet stable enough to use with an end-user software though. When the software gets stable, we can expect Angry Birds-like games in 3D!

You may ask why I am making a new software from scratch. There are already a number of physics engine ports to JavaScript! For example ammo.js. My answer is that they are not enough optimal for JavaScript.
The code structure of those softwares depends on the original language and the porting method, the performance of the final code may not be optimal in JavaScript.
Also, some of the ports contains logical bugs, and many times this is hard to correct for the developer porting the code.
Another reason (probably the most important one) is that I am very interested in a full understanding of a rigid body physics simulator. I admire physics engine developers. Without them we would not have realistic games at all… And Angry Birds would’t even exist.

Have a look at the current examples, or go to cannon.js on GitHub to get the code.