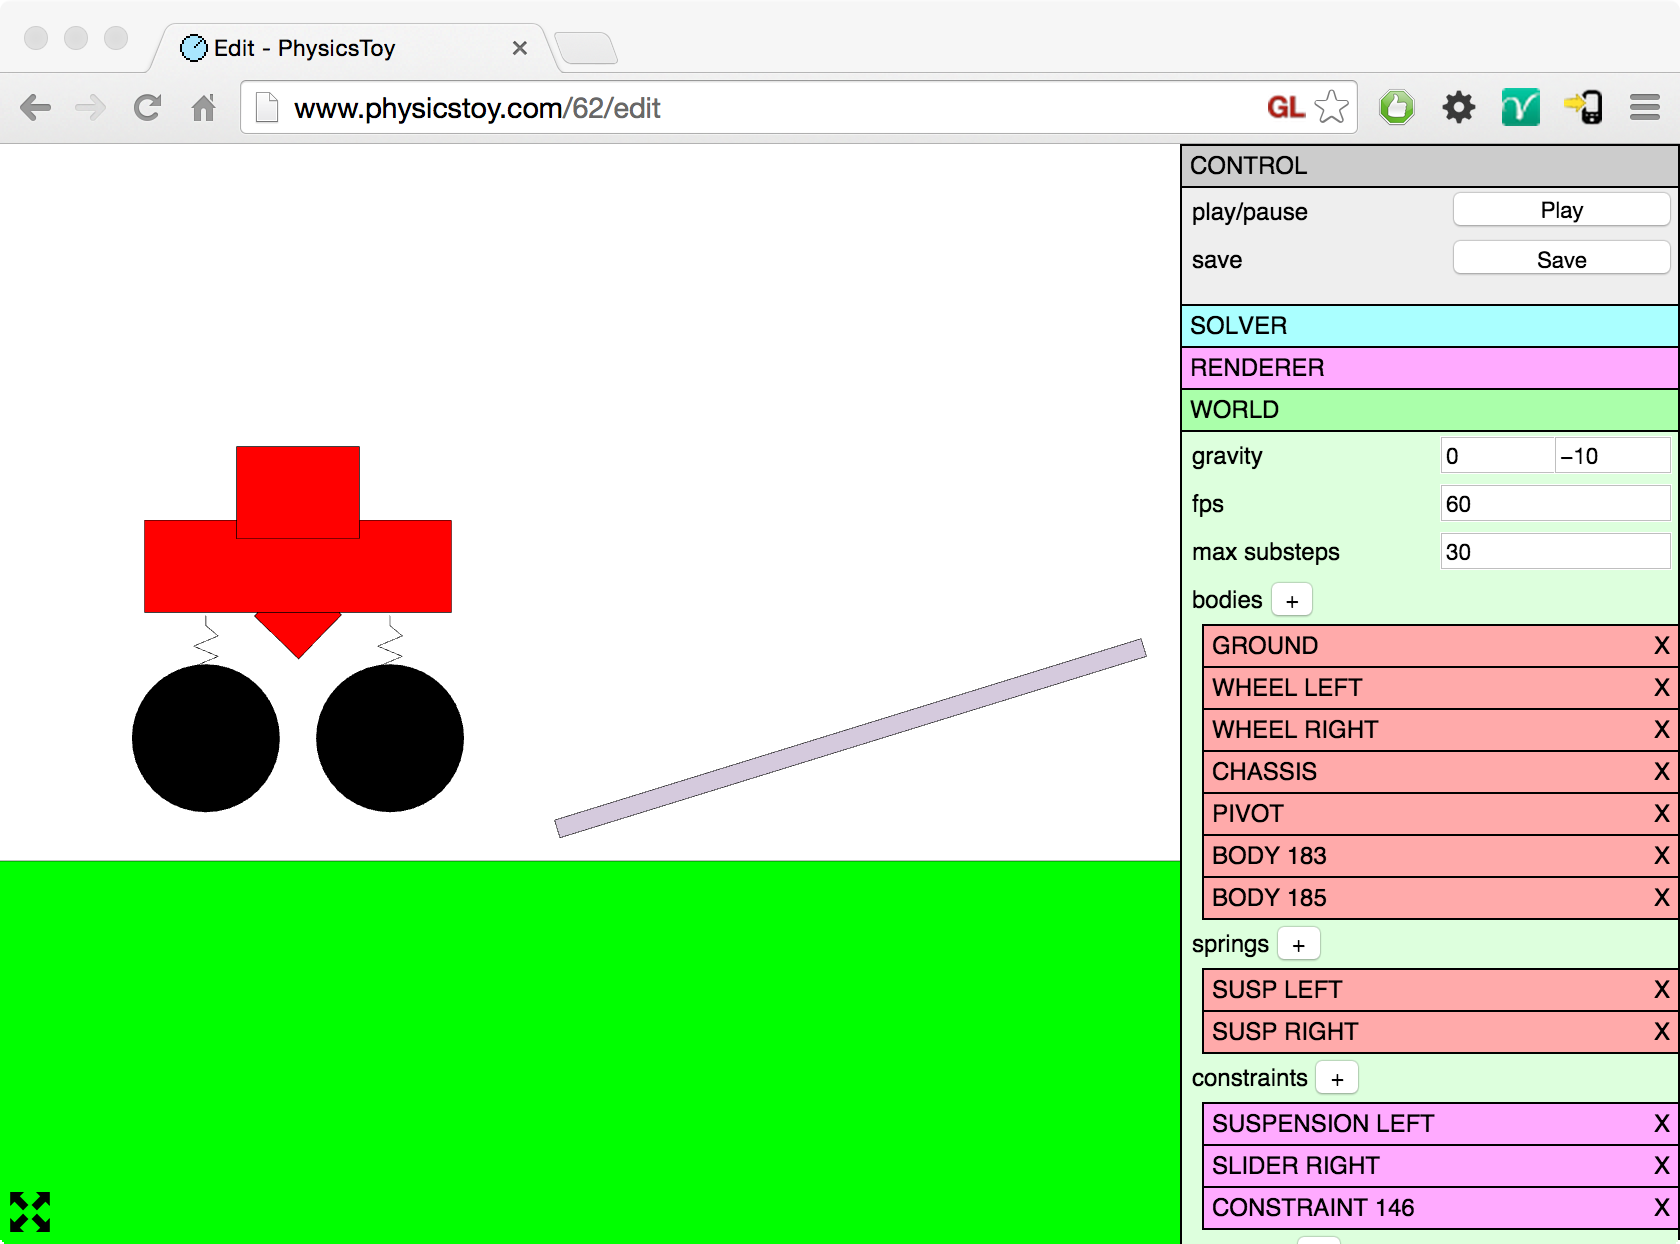
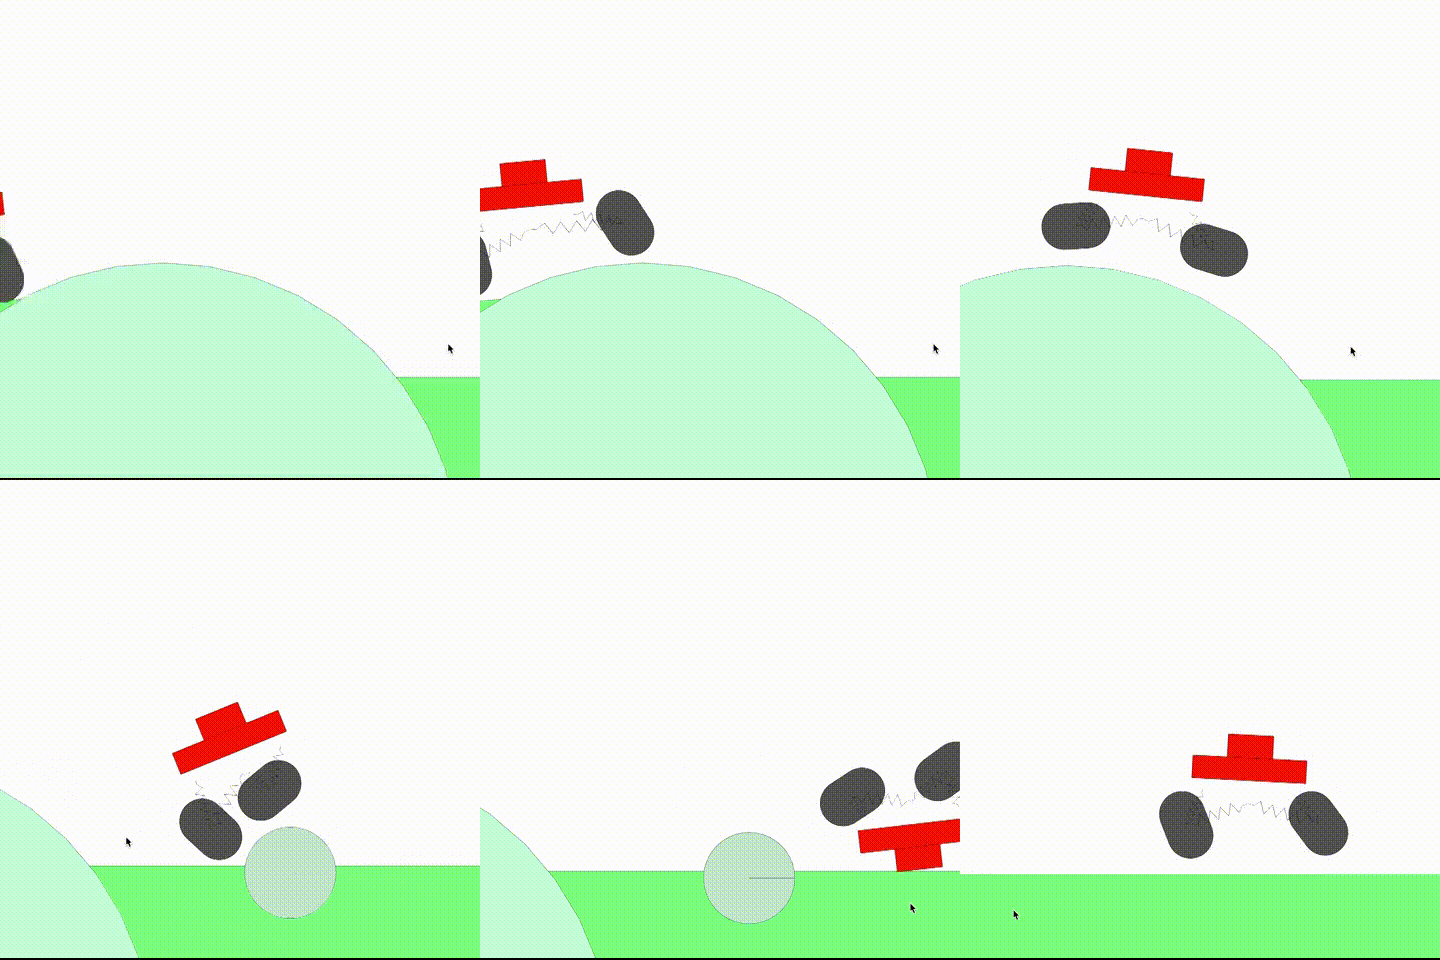
I recently made a demo for the p2.js physics engine with a truck and soft wheels, simulating traction. It’s a pretty interesting case, using a few different p2 constraint types. Perfect for a tutorial.

World & Materials setup
The first thing we need is the simulation world.
var world = new p2.World({

  gravity : [0,-5]

});
Before starting with the vehicle, let’s set up materials. Experience tells me we’re going to need some extra friction for the wheels to get some traction against the ground. For this purpose, we create two Materials and a ContactMaterial. This way we can define a new friction coefficient between ground and wheels.
var groundMat = new p2.Material();

var wheelMat = new p2.Material();

var contactMat = new p2.ContactMaterial(groundMat, wheelMat, {

  friction: 30

});

world.addContactMaterial(contactMat);
We will use these two materials shortly, when creating geometry.
Chassis
The chassis is a single rigid body, with a few shapes in it. First, let’s create the Body:
var chassisBody = new p2.Body({

  mass: 1,

  position: [-0.3, 2.2]

});

world.addBody(chassisBody);
Next step is to add some geometry to it.

// Capsule below the chassis

chassisBody.addShape(new p2.Capsule({

  length: 1.8,

  radius: 0.6

}), [0.5,-0.4], -0.1);


// First capsule above the trunk

chassisBody.addShape(new p2.Capsule({

  length: 1.8,

  radius: 0.1

}), [-0.4, 0.6], Math.PI/2);


// Second capsule above the trunk

chassisBody.addShape(new p2.Capsule({

  length: 1.8,

  radius: 0.1

}), [-0.2, 0.6], Math.PI/2);


// Inclined capsule above the trunk

chassisBody.addShape(new p2.Capsule({

  length: 1.8,

  radius: 0.1

}), [-1.4, 1], Math.PI/7);


// Main chassis shape

chassisBody.addShape(new p2.Convex({

  vertices: [

    [3.5, -0.6],

    [3.7, -0.4],

    [3.6, 0.5],

    [3.3, 0.6],

    [-3.5, 0.6],

    [-3.55, -0.1],

    [-3.4, -0.6]

  ],

  width: 7,

  height: 1.2

}));


// Top "window"

chassisBody.addShape(new p2.Convex({

  vertices: [

    [1, -0.5],

    [0.3, 0.5],

    [-1, 0.5],

    [-1.1, -0.5]

  ]

}), [1, 1.1], 0);
Wheels
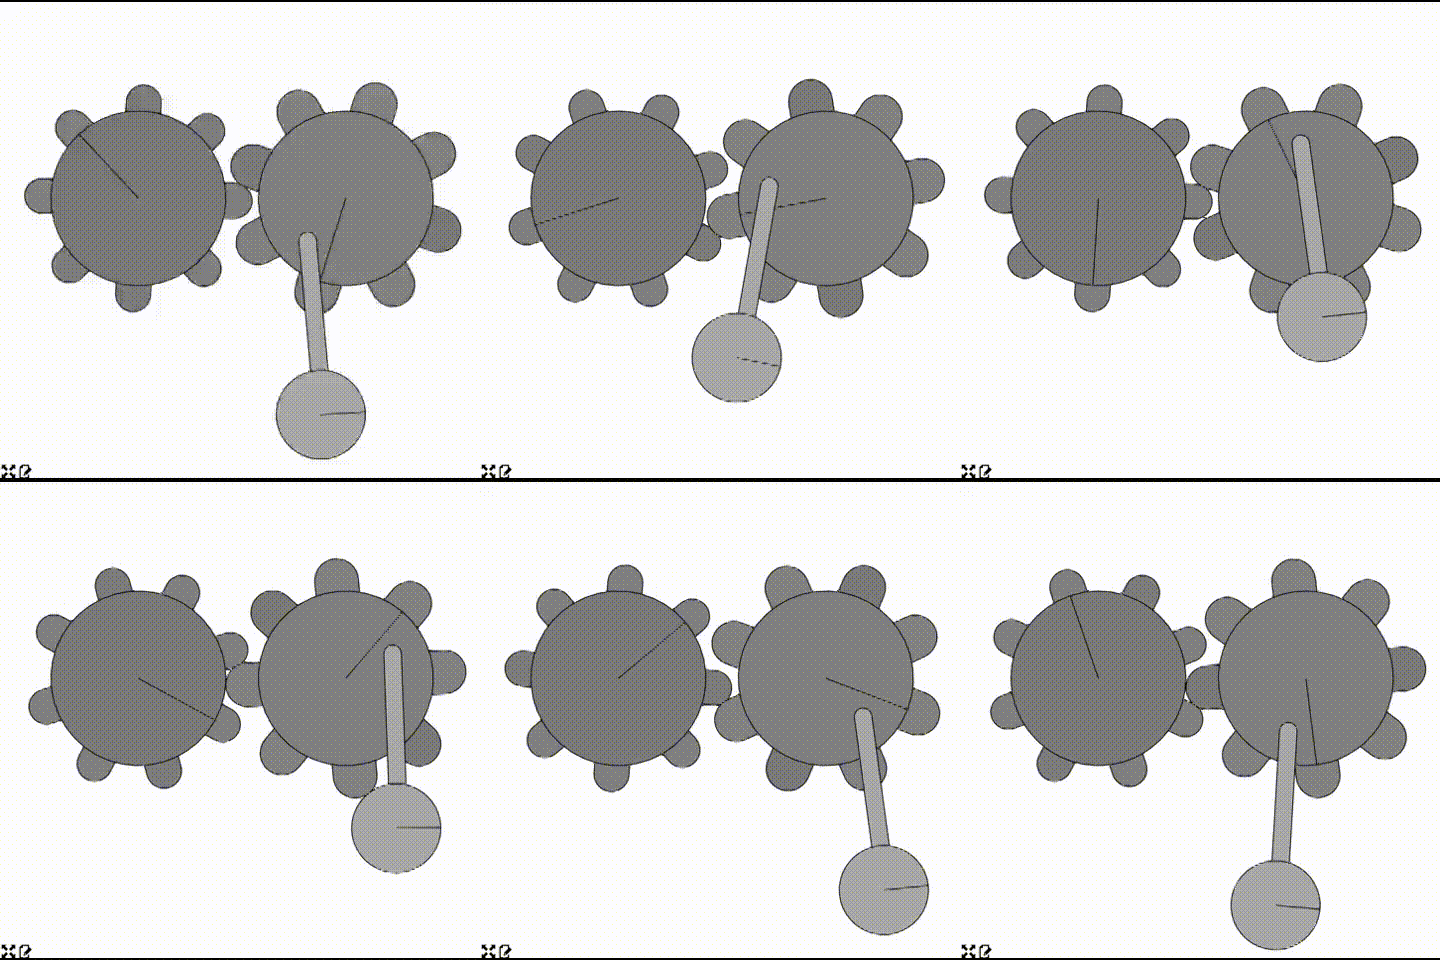
For the soft wheel simulation, I chose an approach where the center of the wheel is a circular body, and the outer shell consists out of a number of “links”. The links are interconnected in a circle, and they are also constrained to the center circle so they must move when the inner wheel rotates. Finally the links have a spring connection to the center so they can flex radially.

Let’s break this down. First we create the center circle body.
var wheelBody = new p2.Body({

  mass: 1

});

wheelBody.addShape(new p2.Circle({ radius: 0.4 }));

world.addBody(wheelBody);
Let’s add a single link for starters. We use a Capsule shape.
var linkBody = new p2.Body({

  mass: 0.1,

  position: [0, 1],

  angle: Math.PI / 2

});

linkBody.addShape(new p2.Capsule({

  radius: 0.05,

  length: 0.4,

  material: wheelMat

}));

world.addBody(body);
First we need to make sure it can only move radially along an axis from the circle body’s center. For this, we use a PrismaticConstraint. We use the body centers as anchor points and define the slider axis locally in the center body.
var prismatic = new p2.PrismaticConstraint(wheelBody, linkBody, {

  localAnchorA:  [0, 0],

  localAnchorB:  [0, 0],

  localAxisA: [0, 1],

  disableRotationalLock: true,

  collideConnected: true

});

world.addConstraint(prismatic);
To keep the links in a circle when the wheel is at rest, we add a DistanceConstraint between the center body and the link. To make the constraint soft, we set a small maxForce.
var distanceConstraint = new p2.DistanceConstraint(wheelBody, linkBody, {

  maxForce: 4

});

world.addConstraint(distanceConstraint);
Now we will modify the “link” code so it runs in a for loop and adds more links. We will also make sure the loop adds RevoluteConstraints to connect the link ends to each other in a circular formation around the center body.

// Create a chain of capsules around the center.

var lastBody, firstBody, N=16;

var linkLength = Math.sqrt(2 - 2*Math.cos(2 * Math.PI / N));

for(var i=0; i


  // Create a capsule body

  var angle = i / N * Math.PI * 2;

  var x = Math.cos(angle) - 2.2;

  var y = Math.sin(angle);

  var linkBody = new p2.Body({

    mass: 0.1,

    position: [x,y],

    angle: angle + Math.PI / 2

  });

  linkBody.addShape(new p2.Capsule({

    radius: 0.05,

    length: linkLength,

    material: wheelMat

  }));

  world.addBody(linkBody);


  // Constrain the capsule body to the center body.

  // A prismatic constraint lets it move radially from the center body along one axis

  var prismatic = new p2.PrismaticConstraint(wheelBody, linkBody, {

    localAnchorA:  [0, 0],

    localAnchorB:  [0, 0],

    localAxisA: [

      Math.cos(angle),

      Math.sin(angle)

    ],

    disableRotationalLock: true, // Let the capsule rotate around its own axis

    collideConnected: true

  });

  world.addConstraint(prismatic);


  // Make a "spring" that keeps the body from the center body at a given distance with some flexing

  world.addConstraint(new p2.DistanceConstraint(wheelBody, body, {

    maxForce: 4 // Allow flexing

  }));


  if(lastBody){

    // Constrain the capsule to the previous one.

    var c = new p2.RevoluteConstraint(linkBody, lastBody, {

      localPivotA: [-linkLength/2, 0],

      localPivotB: [linkLength/2, 0],

      collideConnected: false

    });

    world.addConstraint(c);

  } else {

    firstBody = linkBody;

  }


  lastBody = linkBody;

}


// Close the capsule circle

world.addConstraint(new p2.RevoluteConstraint(firstBody, lastBody, {

  localPivotA: [-linkLength/2, 0],

  localPivotB: [linkLength/2, 0],

  collideConnected: false

}));
Attach wheels to chassis
Now we will constrain the wheels to the chassis. We will let them move vertically and rotate freely using prismatic constraints. We set limits on the constraints so the wheels don’t slide too far away from (or too close to) the chassis.

var c1 = new p2.PrismaticConstraint(chassisBody,wheelBodyA,{

  localAnchorA : [

    wheelBodyA.position[0] - chassisBody.position[0],

    wheelBodyA.position[1] - chassisBody.position[1]

  ],

  localAnchorB: [0,0],

  localAxisA: [0,1],

  disableRotationalLock: true

});

var c2 = new p2.PrismaticConstraint(chassisBody,wheelBodyB,{

  localAnchorA: [

    wheelBodyB.position[0] - chassisBody.position[0],

    wheelBodyB.position[1] - chassisBody.position[1]

  ],

  localAnchorB: [0,0],

  localAxisA: [0,1],

  disableRotationalLock: true

});

c1.setLimits(-0.5, 0.4);

c2.setLimits(-0.5, 0.4);

world.addConstraint(c1);

world.addConstraint(c2);
Suspension
To get a suspension-like effect, we create soft distance constraints, that will let the wheels move up and down a bit. A distance constraint is by default very stiff, so we set its maxForce to something smaller to make it soft.

var suspensionA = new p2.DistanceConstraint(wheelBodyA, chassisBody, {

  maxForce: 6

});

world.addConstraint(suspensionA);

var suspensionB = new p2.DistanceConstraint(wheelBodyB, chassisBody, {

  maxForce: 6

});

world.addConstraint(suspensionB);
Ground plane
At last, we create a ground plane to let the vehicle drive on something. Optionally, we can add some obstacles.
var groundBody = new p2.Body({

  position: [0, -2]

});

groundBody.addShape(new p2.Plane({

  material: groundMat

}));

world.addBody(groundBody);
Applying engine torque
If you want to apply a torque to the wheels to make the vehicle move forward, it should be done after each physics step. Simply do something like this:
world.on("postStep",function(evt){

  wheelBodyA.angularForce += 30;

  wheelBodyB.angularForce += 30;

});
Cool! What now?
Play around with the JSFiddle to see the full code. See if you can add some more cool stuff to the vehicle!
Please leave a comment, star p2.js on Github, tweet or if you think this tutorial is useful!


